
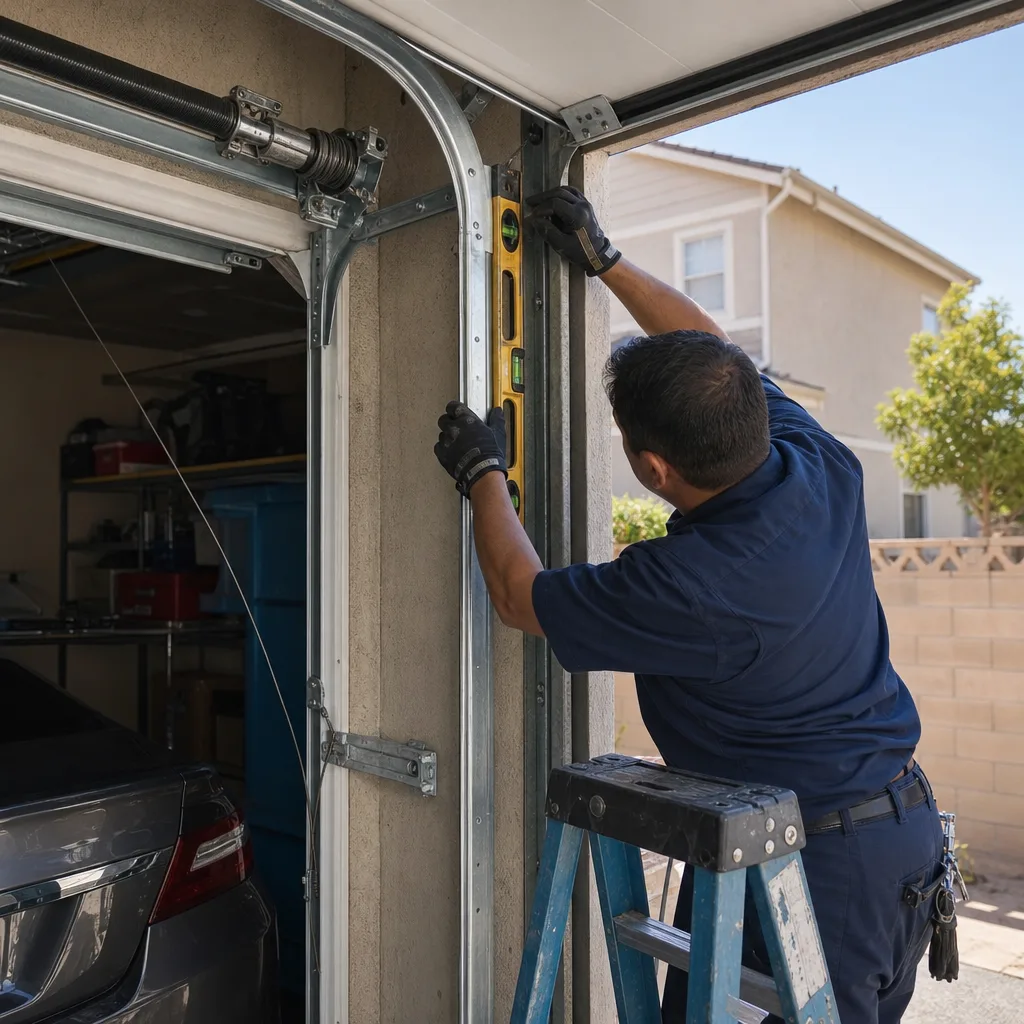
Last updated November 4, 2026
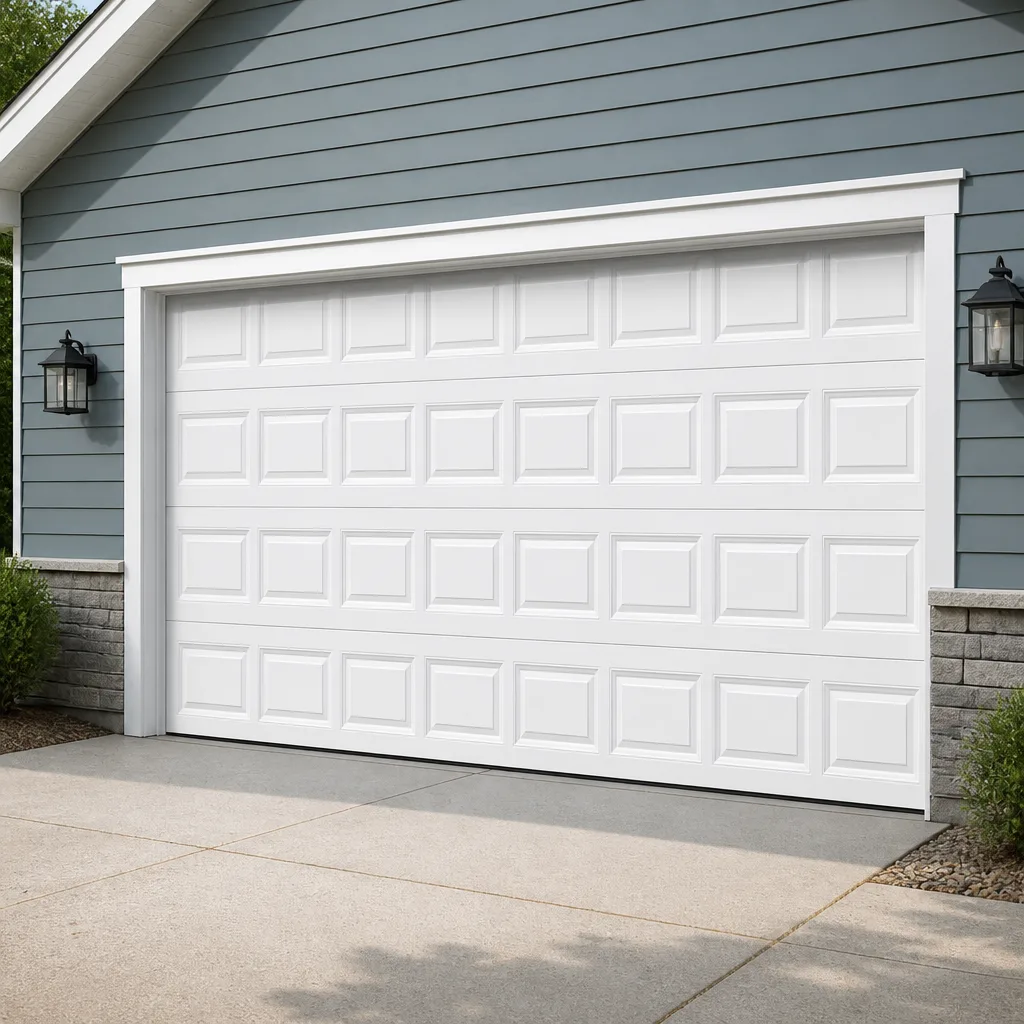 Raised-panel steel
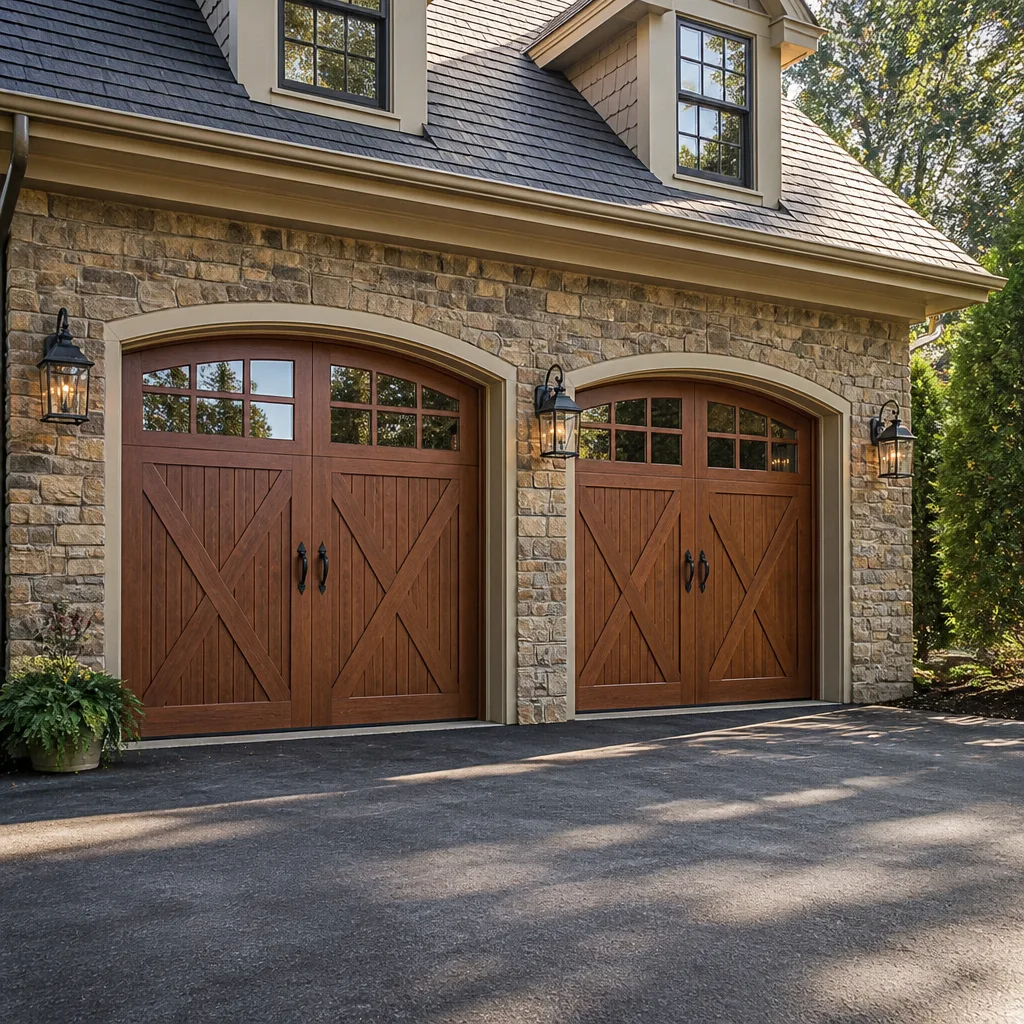 Carriage house
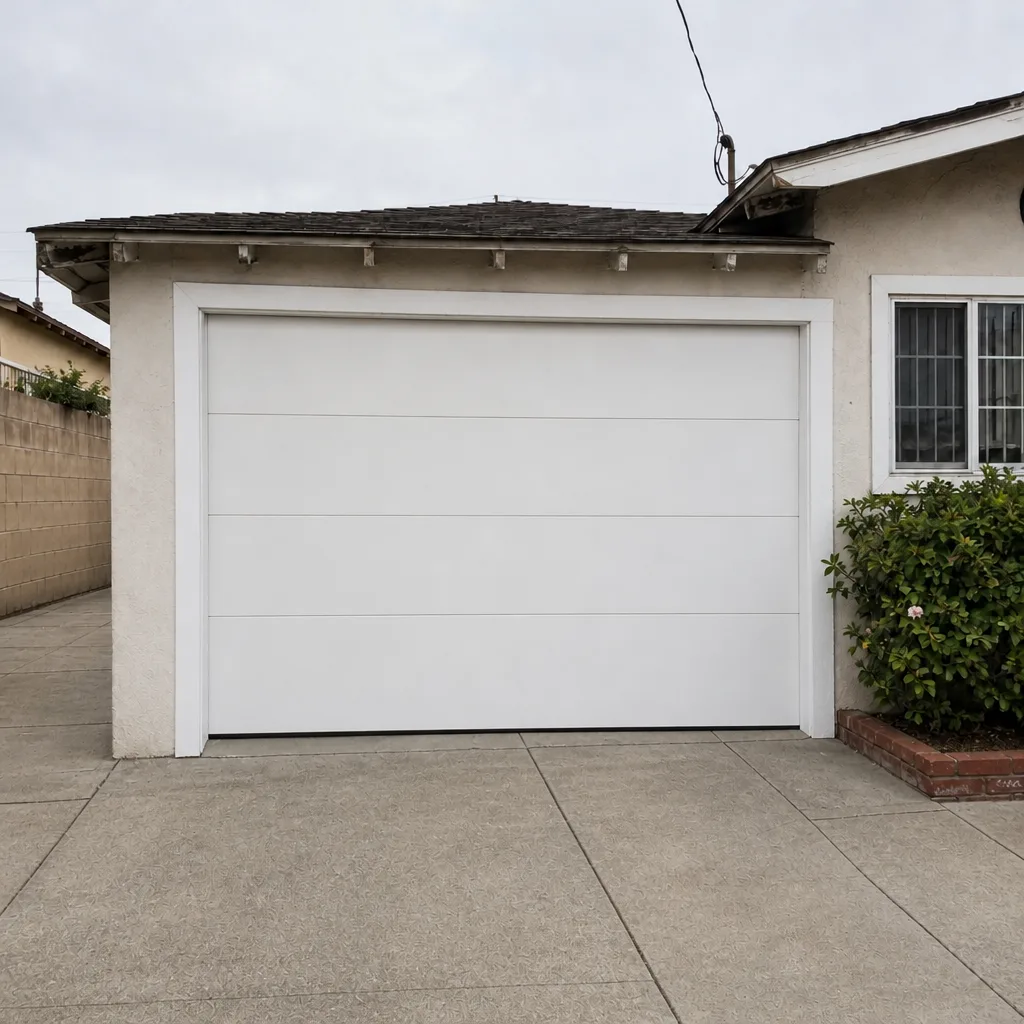
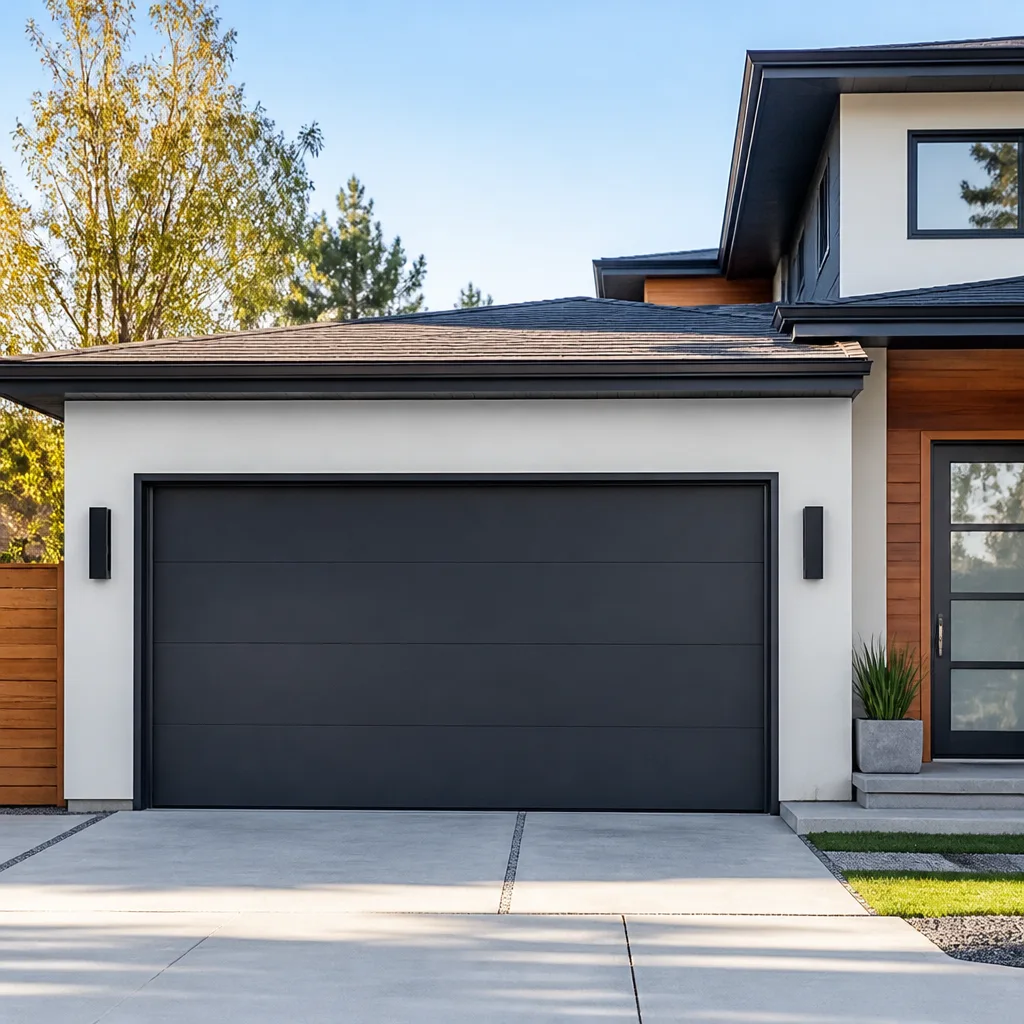 Modern flush
 Full-view glass
 LiftMaster openers
 Chamberlain openers
Full 25-point door and opener safety check with every visit - springs, cables, rollers, tracks, and your LiftMaster or Chamberlain opener included
You get a price before we start. It does not change when the truck arrives.
Get your free estimateSeasonal Garage Door Care for Compton: Year-Round Homeowner’s Guide
October in Compton is harder on garage door springs than January. That surprises most homeowners, but it’s true. Santa Ana winds drop humidity to single digits in a matter of hours, and that rapid shift causes metal components to contract and lubricants to thin out faster than any mild winter cold snap ever could. This guide maps garage door maintenance to Compton’s actual weather calendar: marine layer months, dry wind events, and peak heat stretches. You’ll learn which tasks matter in which part of the year, what gets skipped most often, and when a specialist should look at the door instead of a homeowner. If you live in Compton, this is the only seasonal door-care schedule you need.
Styles & brands we work with
- Raised-panel steel
- Carriage house
- Modern flush
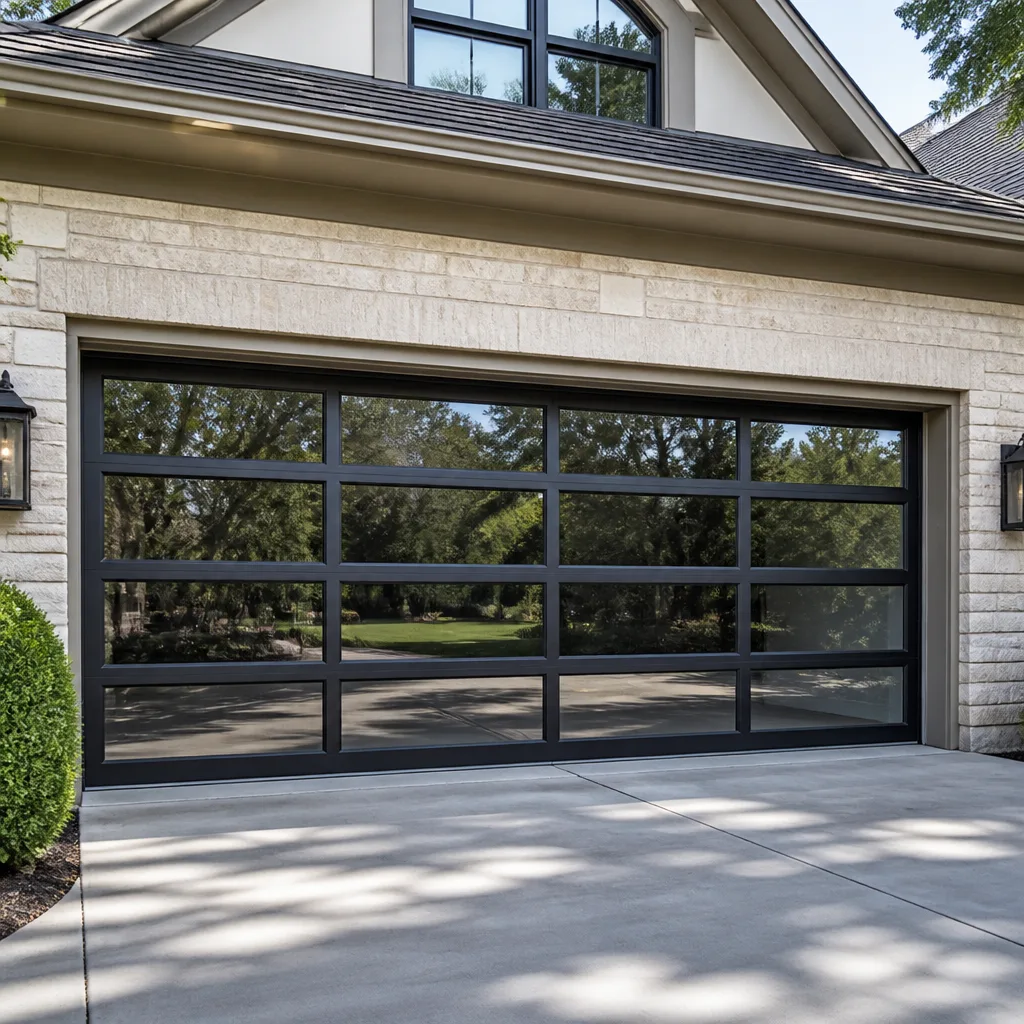
- Full-view glass
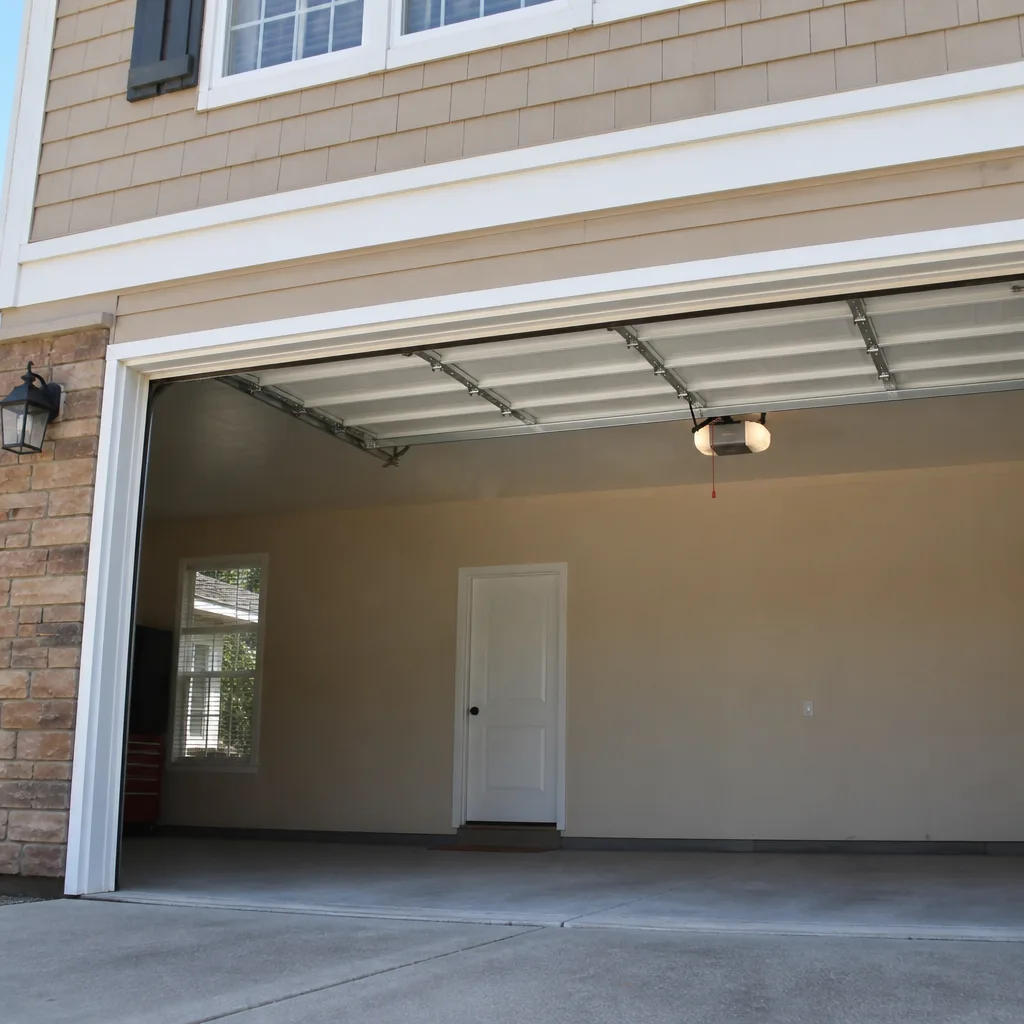
- LiftMaster openers
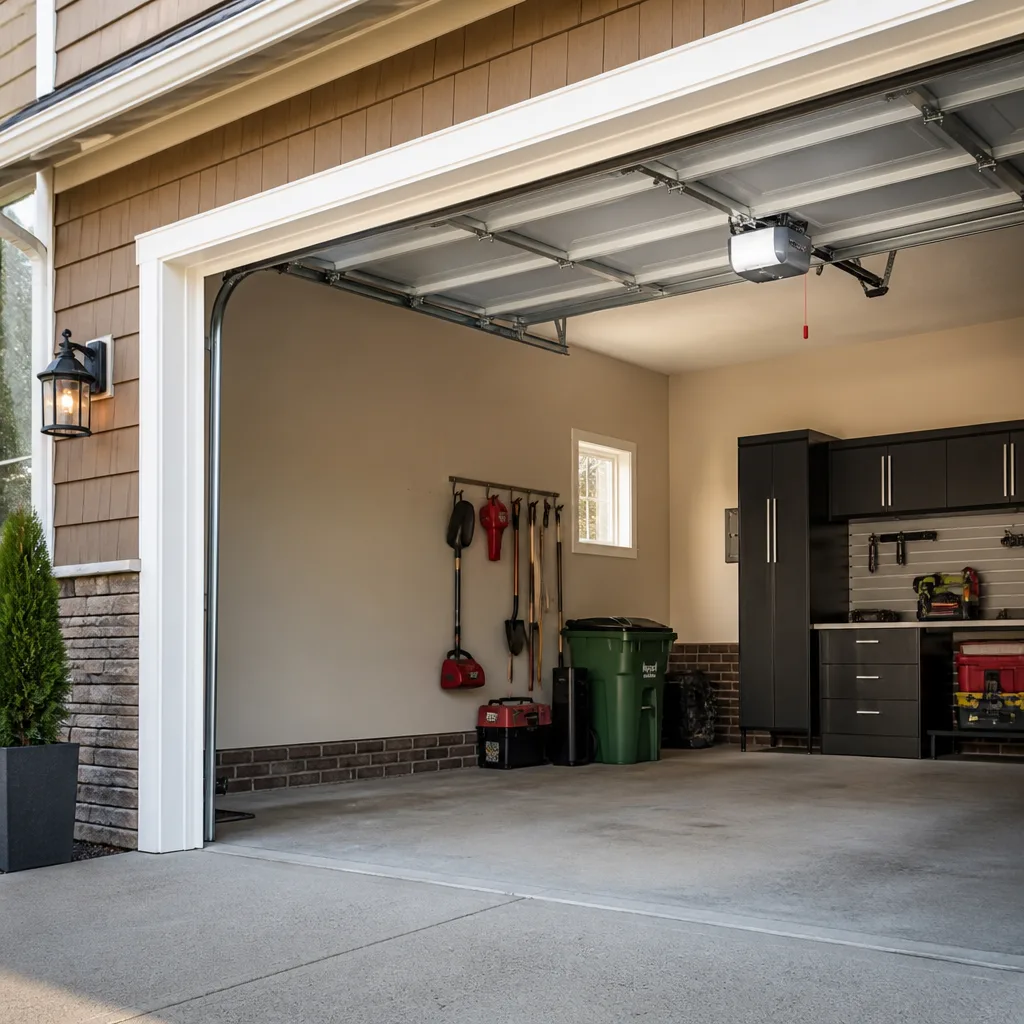
- Chamberlain openers
Quick Answer
Seasonal garage door care in Compton means checking door balance and lubricating moving parts twice a year, inspecting weatherstripping after the first real rain, and paying close attention to opener electronics during peak summer heat. The marine layer (roughly May through September) stresses steel surfaces and hardware with condensation cycles, while Santa Ana season (roughly October through December) affects spring tension and exposed moving parts. Most issues are preventable with a 20-minute seasonal check; serious problems like broken springs or logic-board failures need a professional.
Table of Contents
- Why Compton’s Weather Beats Up Garage Doors Differently
- The Marine Layer Months: Condensation, Rust, and Steel Doors
- Santa Ana Season: Springs, Tension, and Wind Debris
- Peak Heat and Your Opener: Circuit Boards and Drive Belts
- After the Rain: Weatherstripping, Bottom Seals, and Thresholds
- The One Task Homeowners Skip: The Disconnected Balance Check
- A Seasonal Maintenance Schedule That Works in Compton
- Common Mistakes to Avoid
- When to Call a Professional
- Frequently Asked Questions
- The Bottom Line
Why Compton’s Weather Beats Up Garage Doors Differently
Compton doesn’t get dramatic seasons. What it gets is a predictable annual cycle of three weather patterns, and each one stresses a different part of the garage door system. Understanding this cycle is the difference between a door that lasts 15 years and one that needs major work at 8.
From late spring through early fall, the marine layer rolls in most mornings and burns off by midday. That daily cycle of damp air and warm sun creates condensation on steel panels, hinges, and tracks. Then, starting in October, Santa Ana winds push dry desert air across the LA basin. Humidity drops sharply, temperatures swing 30 degrees or more between day and night, and fine dust gets driven into every moving joint. Finally, Compton gets most of its rain in a handful of concentrated winter storms: infrequent but intense downpours that test weather seals that have been baking in the sun all summer.
Each pattern demands a specific maintenance response. A door maintained on a generic four-season schedule, the kind you’d use in Chicago or Seattle, will miss the actual failure points that matter here. The rest of this guide breaks down what to do in each part of Compton’s year. We’ve been working on garage doors in this specific climate since 2012, and we’ve seen exactly how these patterns wear down hardware.
The Marine Layer Months: Condensation, Rust, and Steel Doors
From roughly May through September, Compton wakes up under a blanket of low clouds that burns off by late morning. For a garage door, that means a daily condensation cycle: cool, damp metal at 7am, hot dry metal by 2pm. This cycle is the single biggest driver of cosmetic and structural rust on garage door hardware in this part of Southern California.
What the marine layer actually does to a door
Steel panels from brands like Clopay and Amarr are factory-treated with primer and a baked-on finish that resists rust well, as long as that finish stays intact. The problem is that the finish on any garage door faces daily UV exposure and the occasional scrape. Once there’s a chip or a scratch down to bare metal, the morning condensation does the rest. Rust starts at the exposed edge and creeps under the surrounding paint.
Hardware takes the worst of it. Hinges, rollers, and track brackets are usually zinc-plated or galvanized, but that plating is thin. Years of daily condensation cycles will eventually wear it through. We regularly see Compton garage doors where the door itself still looks decent but the hinges are covered in surface rust that eventually transfers to the panel and seizes the roller.
What to check each spring
- Panel edges and seams: Look for small rust blooms at the bottom corners and anywhere the finish is scratched. Surface rust from one wet cycle can be cleaned and touched up; pitted rust needs professional attention.
- Hinges and brackets: Check for orange staining and stiffness. Rusted hinges bind as the door moves, which adds load to every other component.
- Rollers: Nylon rollers with sealed bearings shed condensation better than steel ones. If you hear grinding when the door moves, the bearings are rusted and the rollers should be replaced.
- Track hardware: Loose or corroded bolts at the track brackets cause alignment problems later. They should not show movement when you tug on them.
One thing homeowners in Compton often overlook: Wayne Dalton doors with steel-faced panels and a foam core are structurally excellent, but their bottom edges can collect water if the door isn’t perfectly level. A slight sag lets dew run down the face and sit at one corner. That’s a small leveling adjustment that prevents a much larger rust repair later.
Santa Ana Season: Springs, Tension, and Wind Debris
Starting in October, the winds shift. Santa Ana events push air from the high desert down through the passes and into the LA basin. The result: humidity drops into the single digits and temperatures can swing 30 degrees in a day. For garage door springs and cables, this is the hardest time of year in Compton.
Torsion springs are made of high-carbon steel wire. Like all metals, the wire expands and contracts with temperature. When a spring has been correctly tensioned for a specific door weight, a 30-degree swing doesn’t cause failure on its own. But it does change the effective tension slightly, and it does expose any existing fatigue cracks faster. We see a clear pattern in our garage door repair calls: a door that was sluggish but functional all summer will suddenly break a spring in November. The spring was already near the end of its cycle life; the temperature swing just finished the job.
Low humidity also affects lubrication. Grease and spray lubricants thin and run in single-digit humidity. A spring that was quiet in September may start squeaking two weeks into an October wind event. That squeak is metal-on-metal friction, and friction on a torsion spring measurably shortens its life.
Post-wind-event checklist
- Open the door halfway and release it. If it drops more than a few inches, spring tension has shifted and the balance is off.
- Listen. Cycle the door open and closed. Squeaks, pops, or grinding mean lubrication is gone or a component is binding.
- Check the cables. Look for fraying at the bottom bracket and the drum. Wind-driven dust acts as an abrasive inside the cable wind.
- Clear the track heads. Santa Ana winds push leaves, palm fronds, and plastic debris into the front of the track where the door’s upper wheels sit. That debris is the most common cause of a door coming off its track after a wind event.
- Check outside weather seals. Intense dry wind finds gaps that normal weather doesn’t. A torn side seal isn’t just an energy issue, it’s also how fine dust gets into the track and hardware.
If the door doesn’t pass the half-open balance test, or if you see fraying on a cable, do not keep cycling the door. A cable under tension that lets go can fire loose ends at high speed. The right move is a professional tension check from a specialist who works on Compton doors every day.
Peak Heat and Your Opener: Circuit Boards and Drive Belts
Compton temperatures hit their highest readings between July and early October. A garage is often the hottest room in the house, and it traps heat in ways the rest of the structure doesn’t. That heat has a direct effect on the two most failure-prone parts of any opener: the logic board and the drive belt.
How hot does it actually get inside a Compton garage?
Even on a 90-degree day, the inside of an uninsulated garage can hold at 110 to 120 degrees for hours after the outside temperature peaks. A dark-painted steel door absorbs more of that heat and radiates it into the interior. The opener sits near the ceiling, which is exactly where the hottest air collects. We’ve measured opener housings hot enough to be uncomfortable to touch during an afternoon service call.
Circuit boards in modern garage door openers, including LiftMaster and Chamberlain units, are designed to tolerate ambient heat up to a point. But sustained high temperatures accelerate the failure of electrolytic capacitors and can degrade solder joints over time. The opener that fails during a heat wave rarely fails because of that one day. It fails because the heat has been quietly aging the board all summer, and the day it fails just happens to be a 98-degree afternoon.
Drive belts have a different problem. Belt-drive openers use a reinforced rubber compound belt that runs on a rail channel. Heat softens the compound and increases stretch. A belt that’s been correctly tensioned at 70 degrees will be measurably sloppier at 110. If the belt was already at the loose end of its adjustment range, the summer heat can make it skip teeth or slip entirely. The result is a door that hesitates, jerks, or refuses to move on hot afternoons.
What to do before peak summer
- Run the opener on a cool morning and feel the belt tension. Push down on the belt at the midpoint of the rail. It should deflect about half an inch. If it’s visibly sagging, it needs adjustment.
- Listen for capacitor whine. A faint high-pitched whine from the opener housing when the door runs is a sign that capacitors are degrading. It’s a warning sign, not a failure, but it’s a warning sign worth acting on before a 100-degree day turns it into a failure.
- Make sure the opener isn’t doing extra work. An out-of-balance door asks more of the opener on every cycle, and the opener generates more of its own heat doing that extra work. Fix the balance issue first.
If your opener goes down on a hot afternoon and the door is stuck closed, don’t force it open by hand, especially if you’ve been hearing capacitor whine. A jammed traveler or a seized sprocket can bend the rail and turn a simple opener repair into a job that needs the whole unit replaced. We do garage door opener repair on both LiftMaster and Chamberlain systems constantly, and the summer heat is when most of those calls come in.
After the Rain: Weatherstripping, Bottom Seals, and Thresholds
Compton doesn’t get much rain, but when it does rain, it comes in concentrated bursts. A single heavy storm can dump enough water in a few hours to expose every weakness in a garage door’s weather sealing. The issue is that most homeowners never inspect those seals until water is already inside the garage, where it soaks cardboard boxes, ruins stored clothing, and promotes mold in corners.
The three components that keep water out are the bottom seal (a rubber or vinyl strip that squeezes against the concrete), the side and top weatherstripping (nailed or screwed strips around the door opening), and the threshold seal (an optional raised rubber strip glued to the concrete at the door line). Each has a specific failure mode in the Compton climate.
What sun does to seals, and what rain finds
UV exposure is the quiet killer here. A bottom seal that sits in direct afternoon sun for three summers will harden and lose the flexibility that lets it conform to the concrete. Once it’s stiff, it doesn’t seal against an uneven driveway. Water runs under the door along the low spots. The bottom seal is a replaceable part and replacing it is one of the cheapest maintenance items a homeowner can do, but it’s skipped more often than anything else on the door because nobody notices it’s bad until the first storm.
Side weatherstripping fails differently. It’s usually a vinyl flap that presses against the moving door panel. Sun and wind warp the flap so that it curls away from the door, and then wind-driven rain gets in around the sides. The top seal usually fails more from mechanical damage than weather, but it’s worth checking at the same time.
Post-rain inspection steps
- Close the door and look from inside on a sunny day. Sunlight around the edges of a closed door shows you exactly where the seals are failing.
- Run a hand along the bottom seal. It should be flexible and make consistent contact across the full width. Cracks, flattening, and gaps are signs it’s past its useful life.
- Check for standing water on the garage floor after a storm. Where the water pools tells you where the entry point is.
- If you have a threshold seal, check that it’s still bonded. Heat softens the adhesive, and over time the seal shifts. A shifted threshold leaves a direct gap into the garage.
- Inspect the door frame. In a few Compton neighborhoods with older homes, garages sit low relative to the street, which means storm runoff gets funneled toward the door. A door that’s never leaked can leak after any change to yard grading.
Replacing worn weatherstripping is something a homeowner with basic tools can take on, but if the door frame itself is rotted or the concrete has settled so far that a standard seal won’t close the gap, a professional should look at it. Settled concrete is a structural issue that affects how the door sits and tracks, not just whether water gets in.
The One Task Homeowners Skip: The Disconnected Balance Check
If you do one thing from this entire guide twice a year, make it the balance check. It takes two minutes. Almost nobody does it. We know this because a large share of the repair calls we take start with this exact sequence: a homeowner notices the door gets louder, then slower, then the opener starts struggling, then a spring breaks. A balance check at step one would have caught the problem months earlier.
Here’s what a balance check actually is: you disconnect the opener from the door and lift the door by hand. If the door is properly balanced, it stays where you put it when you let go at waist height. It doesn’t fall. It doesn’t rise. It just holds. That’s the sign of a correctly tensioned spring system doing its job.
If the door drops when you let go, the spring is under-tensioned or weakened. If the door rises by itself, the spring is over-tensioned. Both conditions are bad. An under-tensioned spring makes the opener do most of the lifting work, which shortens the opener’s life and puts extra stress on the drive belt or chain. An over-tensioned spring is a spring that’s stored more energy than it’s designed for, which shortens its own cycle life and makes the door dangerous to work on.
How to do the balance check the right way
- Close the door completely.
- Pull the red emergency release cord on the opener rail. This disconnects the opener from the door. For most openers including LiftMaster and Chamberlain units, the release is a red rope hanging from the traveler.
- Lift the door manually to about waist height and let go. Watch what happens. Drifting down a couple of inches is okay. Dropping to the floor is not. Springing upward is definitely not.
- Reconnect the opener. Pull the release cord again or press the wall button button until the traveler re-engages. Some openers reconnect automatically on the next cycle.
- If the door didn’t pass, stop using the opener and call for a professional tension adjustment. Don’t run the door by hand either. A weakened spring can let go without warning, and a torsion spring under load is genuinely dangerous.
A correctly maintained torsion spring in the Compton climate has a predictable cycle life, but that life depends on the spring staying correctly tensioned and lubricated through the temperature swings described earlier. The balance check is how you know if those seasonal shifts are doing damage. Twice a year is enough: once in early spring and once in early autumn.
A Seasonal Maintenance Schedule That Works in Compton
The following schedule maps maintenance tasks to Compton’s actual weather patterns, not to a generic four-season calendar. Print it and put it on the garage wall if that helps you remember.
Early spring (March-April)
- Do the full balance check with the opener disconnected.
- Lubricate hinges, rollers, and springs with a silicon or lithium spray. Wipe off excess, especially on tracks.
- Inspect for rust blooms from the previous year’s marine layer. Touch up or schedule touch-up work.
- Run the opener and listen for grinding, squealing, or capacitor whine.
Late spring (May-June)
- Inspect panel edges and hardware for early rust signs as the marine layer season begins.
- Check the bottom seal for UV hardening after the first strong sun stretch.
- Clear the track heads of any accumulated debris.
Mid-summer (July-August)
- Feel the drive belt tension on a cool morning. Adjust if deflecting more than half an inch.
- Listen for opener strain during afternoon cycles when the garage is hottest.
- Check the opener’s photo-eye alignment and function.
Early autumn (October-November)
- Second balance check of the year, before Santa Ana season peaks.
- Re-lubricate moving parts after the summer heat has thinned out existing lubrication.
- Clear wind-driven debris from tracks after the first strong Santa Ana event.
- Inspect cables for fraying.
Winter (December-February)
- After the first real rain of the season, inspect weatherstripping and bottom seals for leaks.
- Check the door frame and concrete for signs of settlement or water pooling.
- Clean the photo-eye lenses.
- Test the auto-reverse safety function.
This is a maintenance schedule, not a repair guide. If any of these inspections turns up a problem, the right response is to address it now rather than wait for it to become a failure. A worn roller can work for months before it seizes, but the damage it does to the track while it’s failing is more expensive than replacing the roller would have been.
Common Mistakes to Avoid
- Lubricating the tracks. Tracks are not supposed to be lubricated. The rollers run on them, and lubricant on the track collects dust and turns into an abrasive paste that accelerates roller wear. Lubricate the hinges and rollers, keep the tracks dry and clean.
- Ignoring squeaks because the door still works. A squeak is the sound of metal rubbing metal without a lubricant film. In Santa Ana season, that friction is dry and abrasive. The squeak is the early warning before scored parts and heavier wear. Every squeak has a specific source, and a specialist who knows garage door mechanics can find it in minutes.
- Replacing only one spring on a two-spring door. On a two-spring torsion system, both springs share the load. A new spring and an old spring deliver mismatched tension, which throws off the balance and wears out the new spring prematurely. This is a shortcut that looks cheaper in the moment and isn’t.
- Testing the balance check once and never again. The door’s balance changes gradually as the springs cycle through their life. A door that passed in March may not pass in November. The twice-yearly check is a habit, not a one-time diagnostic.
- Using WD-40 as a general garage door lubricant. WD-40 is a penetrating water-displacer, not a long-term lubricant. It’s useful for freeing seized bolts, but it actually washes away heavy lubricants from hinges and bearings. Use a dedicated garage-door lubricant or a silicon/lithium spray.
- Forcing a stuck door open with the opener still connected. If the door won’t move, something is jammed. Forcing it with the opener strains the belt, sprocket, and logic board simultaneously. Disconnect and investigate by hand, or call a professional before cycling it again.
- Painting over marine-layer rust without treating it. Surface rust needs to be removed before paint goes on, or it just continues spreading under the new coat. A professional rust treatment and touch-up takes the same afternoon and actually solves the problem.
When to Call a Professional
Some garage door issues are safe for a homeowner to inspect. Others should get a specialist involved before the door gets cycled again. The line between the two is simple: if the problem involves components under spring tension or parts of the opener that are exposed to high voltage, the professional call is the right call. Torsion springs and lift cables operate under enough load to cause serious injury if they let go while a homeowner is working nearby. Opener repair on modern systems also involves capacitors that hold a charge after the unit is unplugged. The door is not the thing that hurts people; the springs and stored electricity are. Garage Door Service Compton offers free estimates in Compton, call (833) 593-3930. We answer 24/7. Fast dispatch from 7am to 7pm, Sunday through Friday.
Specific situations that warrant a professional visit: a spring that breaks, a cable that frays, a door that jumps its track, an opener that fails without obvious cause during a heat wave, and any balance check that fails. A door that doesn’t hold at waist height is a door that’s already damaged, even if it still cycles with the opener doing extra work. None of these are do-it-yourself repairs, and all of them are jobs we handle every week across the full range of residential brands from Wayne Dalton to Craftsman.
Frequently Asked Questions
Twice a year is the right cadence for Compton’s climate: once in early spring before the marine layer season, and once in early autumn before Santa Ana season peaks. That cycle accounts for the two periods when humidity and temperature swings are hardest on lubrication. Use a silicone or lithium spray, apply it to hinges, rollers, and springs, and never lubricate the tracks themselves. If you hear a squeak between those two scheduled lubrications, don’t wait: the squeak means the lubricant film is already gone and the metal is wearing.
That’s Santa Ana season, when single-digit humidity strips lubrication faster than any other time of year in Compton. The instant the humidity drops, whatever lubricant remains on the hinges and springs thins out and runs off, and the metal starts riding on metal. Re-lubricating at the start of October is the single best thing you can do to get ahead of this. If the squeak persists after lubricating, the component is already scored and may need replacement rather than more spray.
Yes, and it’s the most underestimated threat to garage door hardware in Compton. The daily cycle of damp mornings and hot afternoons puts a micro-layer of condensation on exposed metal for hours at a time. Unfinished edges, chipped paint, and worn plating are all entry points. The panel steel from Clopay and Amarr is well-finished, but the hardware, hinges, and brackets are where the rust starts. Once a hinge rusts, it binds as the door moves, and the added load spreads to other components.
No. Torsion springs are wound under high tension, and an uncontrolled release can cause serious injury. The adjustment procedure requires winding bars, specific knowledge of the spring’s current cycle count and condition, and an understanding of how the door’s weight, cable drums, and spring rate interact. A professional tension check is a quick, relatively inexpensive service, and it’s far cheaper than a trip to urgent care. If your balance check fails, disconnect the door and call us at (833) 593-3930. We answer 24/7 and can set up a free estimate.
The most common early sign is a faint high-pitched whine from the opener housing while the door runs, especially on hot afternoons. That’s audible capacitor wear, and it means the board is degrading. Other signs include the door refusing to respond on hot days but working fine on cool mornings, the opener losing its programming after a power cycle, and intermittent failure that doesn’t happen consistently. By the time the opener stops working entirely on a 100-degree afternoon, the board has failed, and the fix is usually replacement rather than repair. Call us for a diagnosis on your specific LiftMaster, Chamberlain, or Genie opener.
Spring failures during and after Santa Ana events, and opener failures during peak summer heat. The spring issue is driven by rapid temperature swings and dried-out lubrication combining with normal spring cycle fatigue. The opener issue is driven by sustained high interior garage temperatures degrading capacitors and solder joints. Both follow predictable seasonal patterns, and both are exactly the kind of repair that gets worse and more expensive when ignored. A twice-yearly balance check and lubrication schedule catches both problems before they become full failures.
The Bottom Line
Compton garage doors don’t have to fight snow, ice, or freezing temperatures. What they do fight is subtler but just as damaging: daily condensation cycles for half the year, extreme low-humidity heat in the autumn, and a handful of heavy rain events that find every compromised seal. The right maintenance plan addresses those actual conditions. Check balance twice a year, lubricate at the right time, inspect seals after rain, and listen to your opener’s warnings before it fails in the heat. Most seasonal garage door problems in this city are caught early by a homeowner who knows what to look for. The ones that aren’t become repair calls, and when that happens, Garage Door Service Compton is ready to help.
Call (833) 593-3930 for a free estimate. We answer 24/7. Fast dispatch from 7am to 7pm, Sunday through Friday.
Written by the team at Garage Door Service Compton, serving Compton since 2012.
See the difference
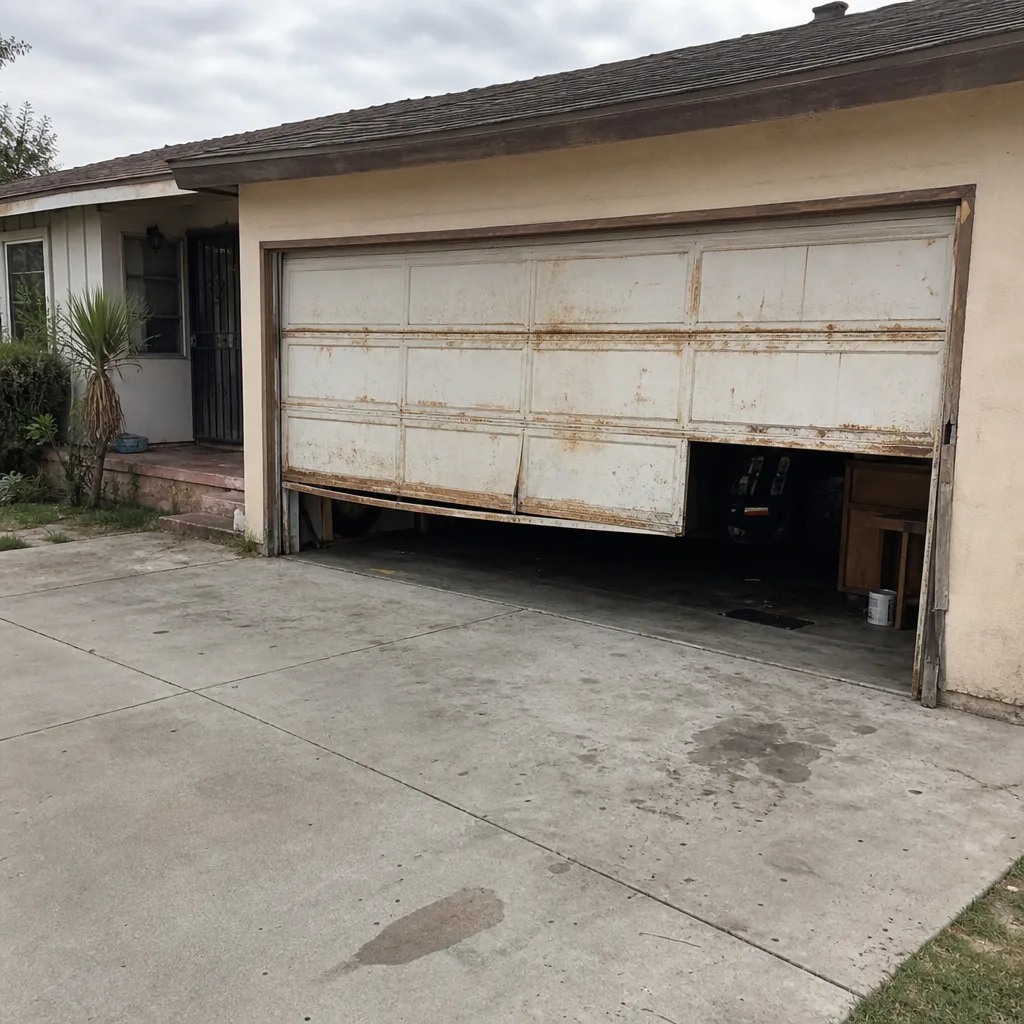 Before
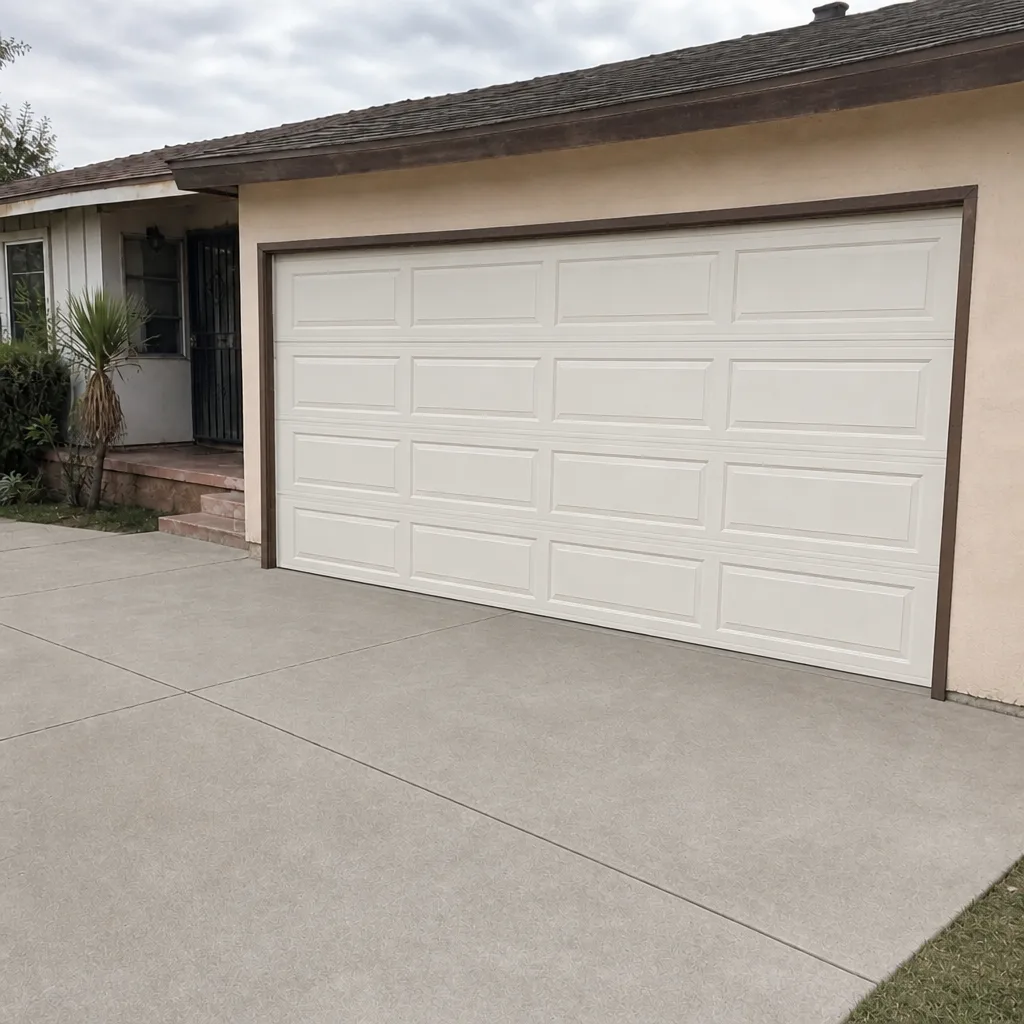 After
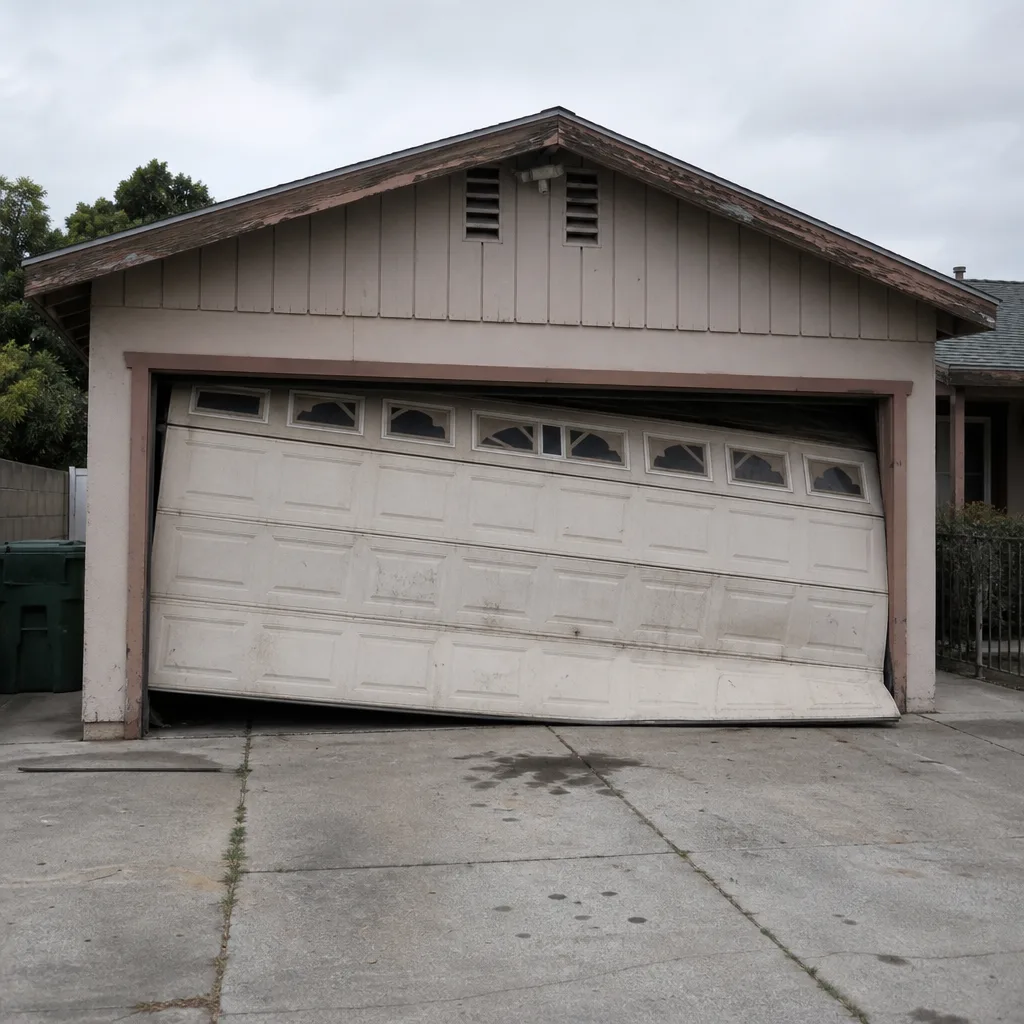 Before
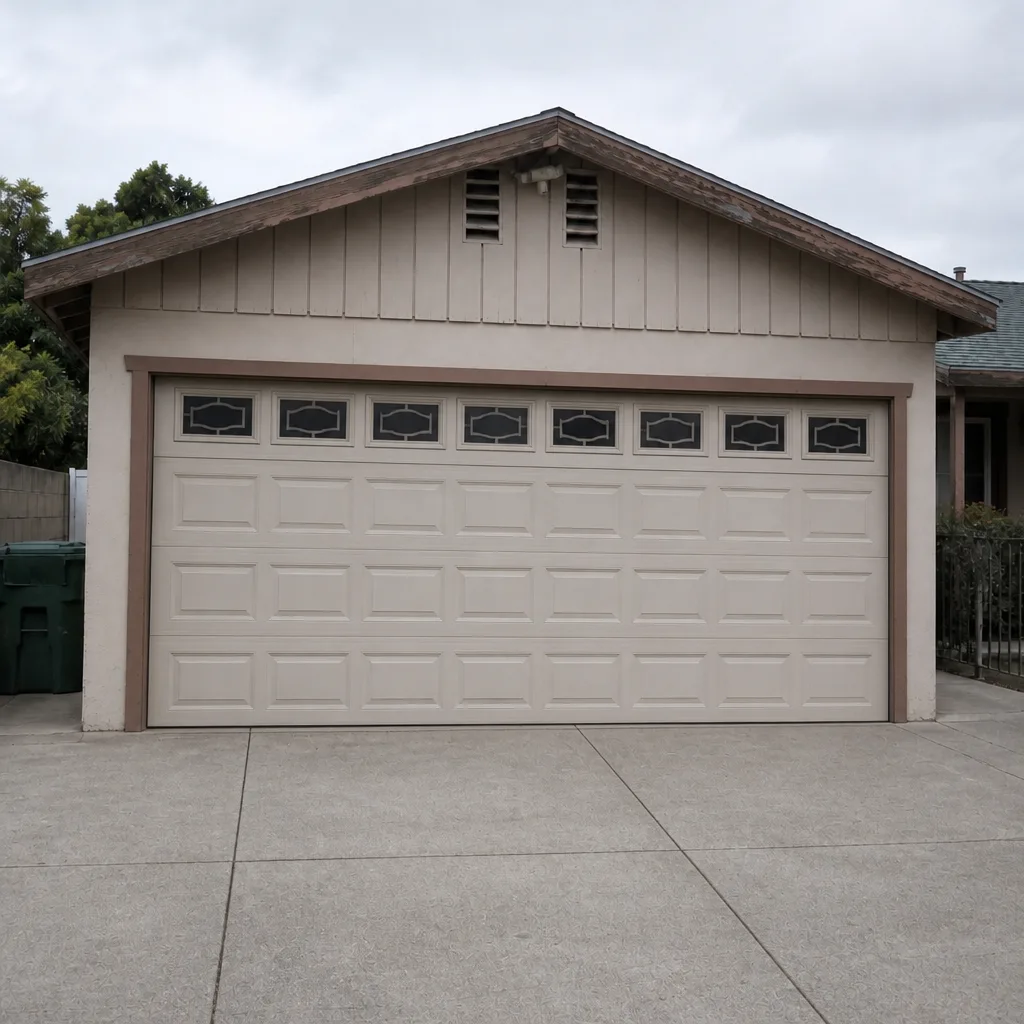 After
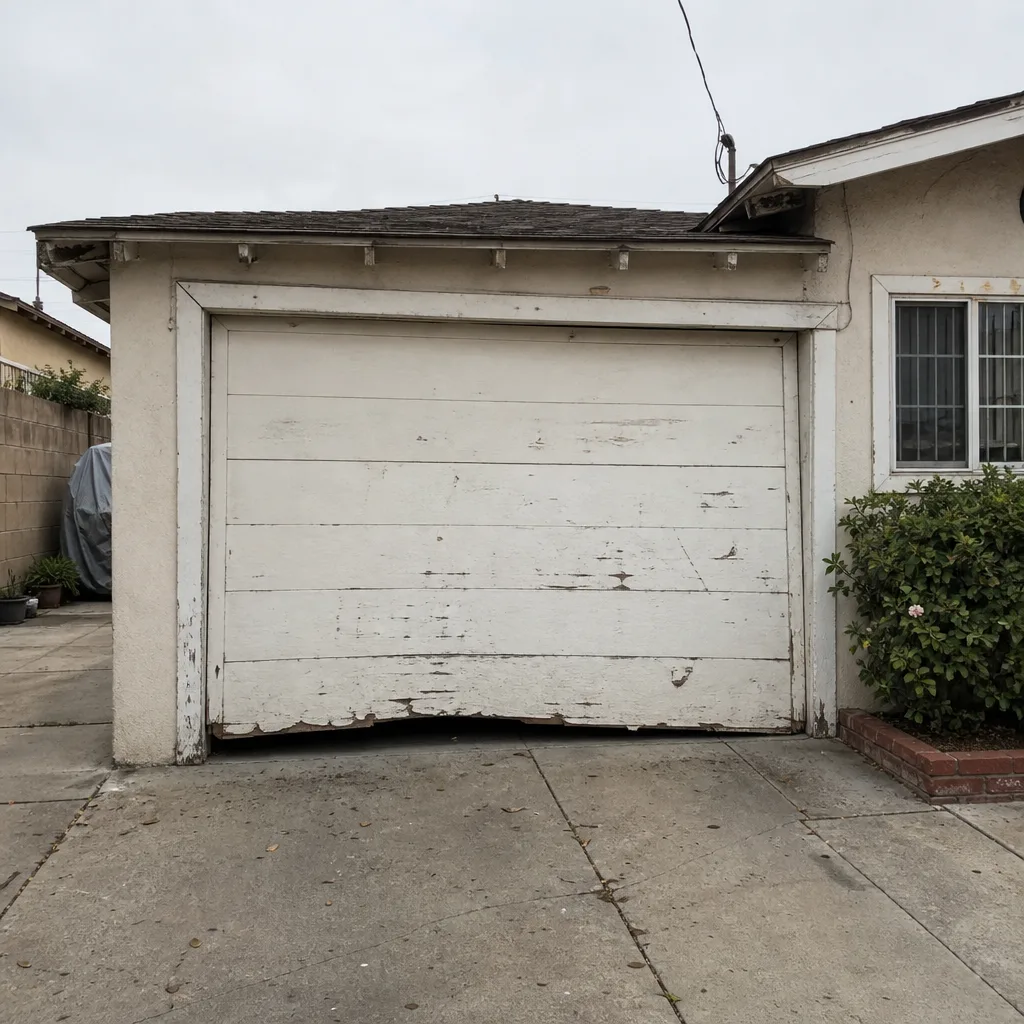 Before
 After